A Beginner's Guide to Drawing Clouds in Coloured Pencil
Think you know how to draw a cloud? I bet you could sketch a cartoon-like fluffy cloud well enough for anyone to correctly guess what it is. Now, I want you to forget that. The first rule for realistic cloud drawing is you want to draw the sky behind the cloud, not the cloud itself. You don't draw the edges of the cloud, you draw the feathered edges of the sky as they transition into cloud. This is a type of negative drawing technique - looking past the subject and creating its form by drawing the background and surroundings. This is just one example of the many things that clouds can teach us. Another one? Softness and subtlety to our approach. Come draw a cloud with me.
Basics
The Art of Looking
Do you remember when you first started drawing? You would spot interesting shapes, colours and textures everywhere? Did you try to mentally match up the colours you could see with known pencils? Do that again - but look up. Clouds come in all different shapes and sizes. We tend to think of them as objects, but they're not. You couldn't grab hold of one. Up close, you wouldn't be able to define the edges. They're transient, shifting across the sky. This is great news for you the artist - you can be inspired by real clouds but do not need to replicate what you see.
Spend some time outside looking at clouds, or scan photos on your phone (I searched for 'cloudy sky' among my photos and came up with hundreds). See how much they vary? On a bright sunny day, you'll probably see the fluffy cumulus clouds. On a hazy day, you'll see stratus - it may even reach the ground as fog. Higher up in the sky, can you see wisps of cirrus? There are many different types of clouds and you don't need to worry about classifying them. I'd say a great start to drawing them is to pick a single fluffy cloud.
Beyond the Cloud
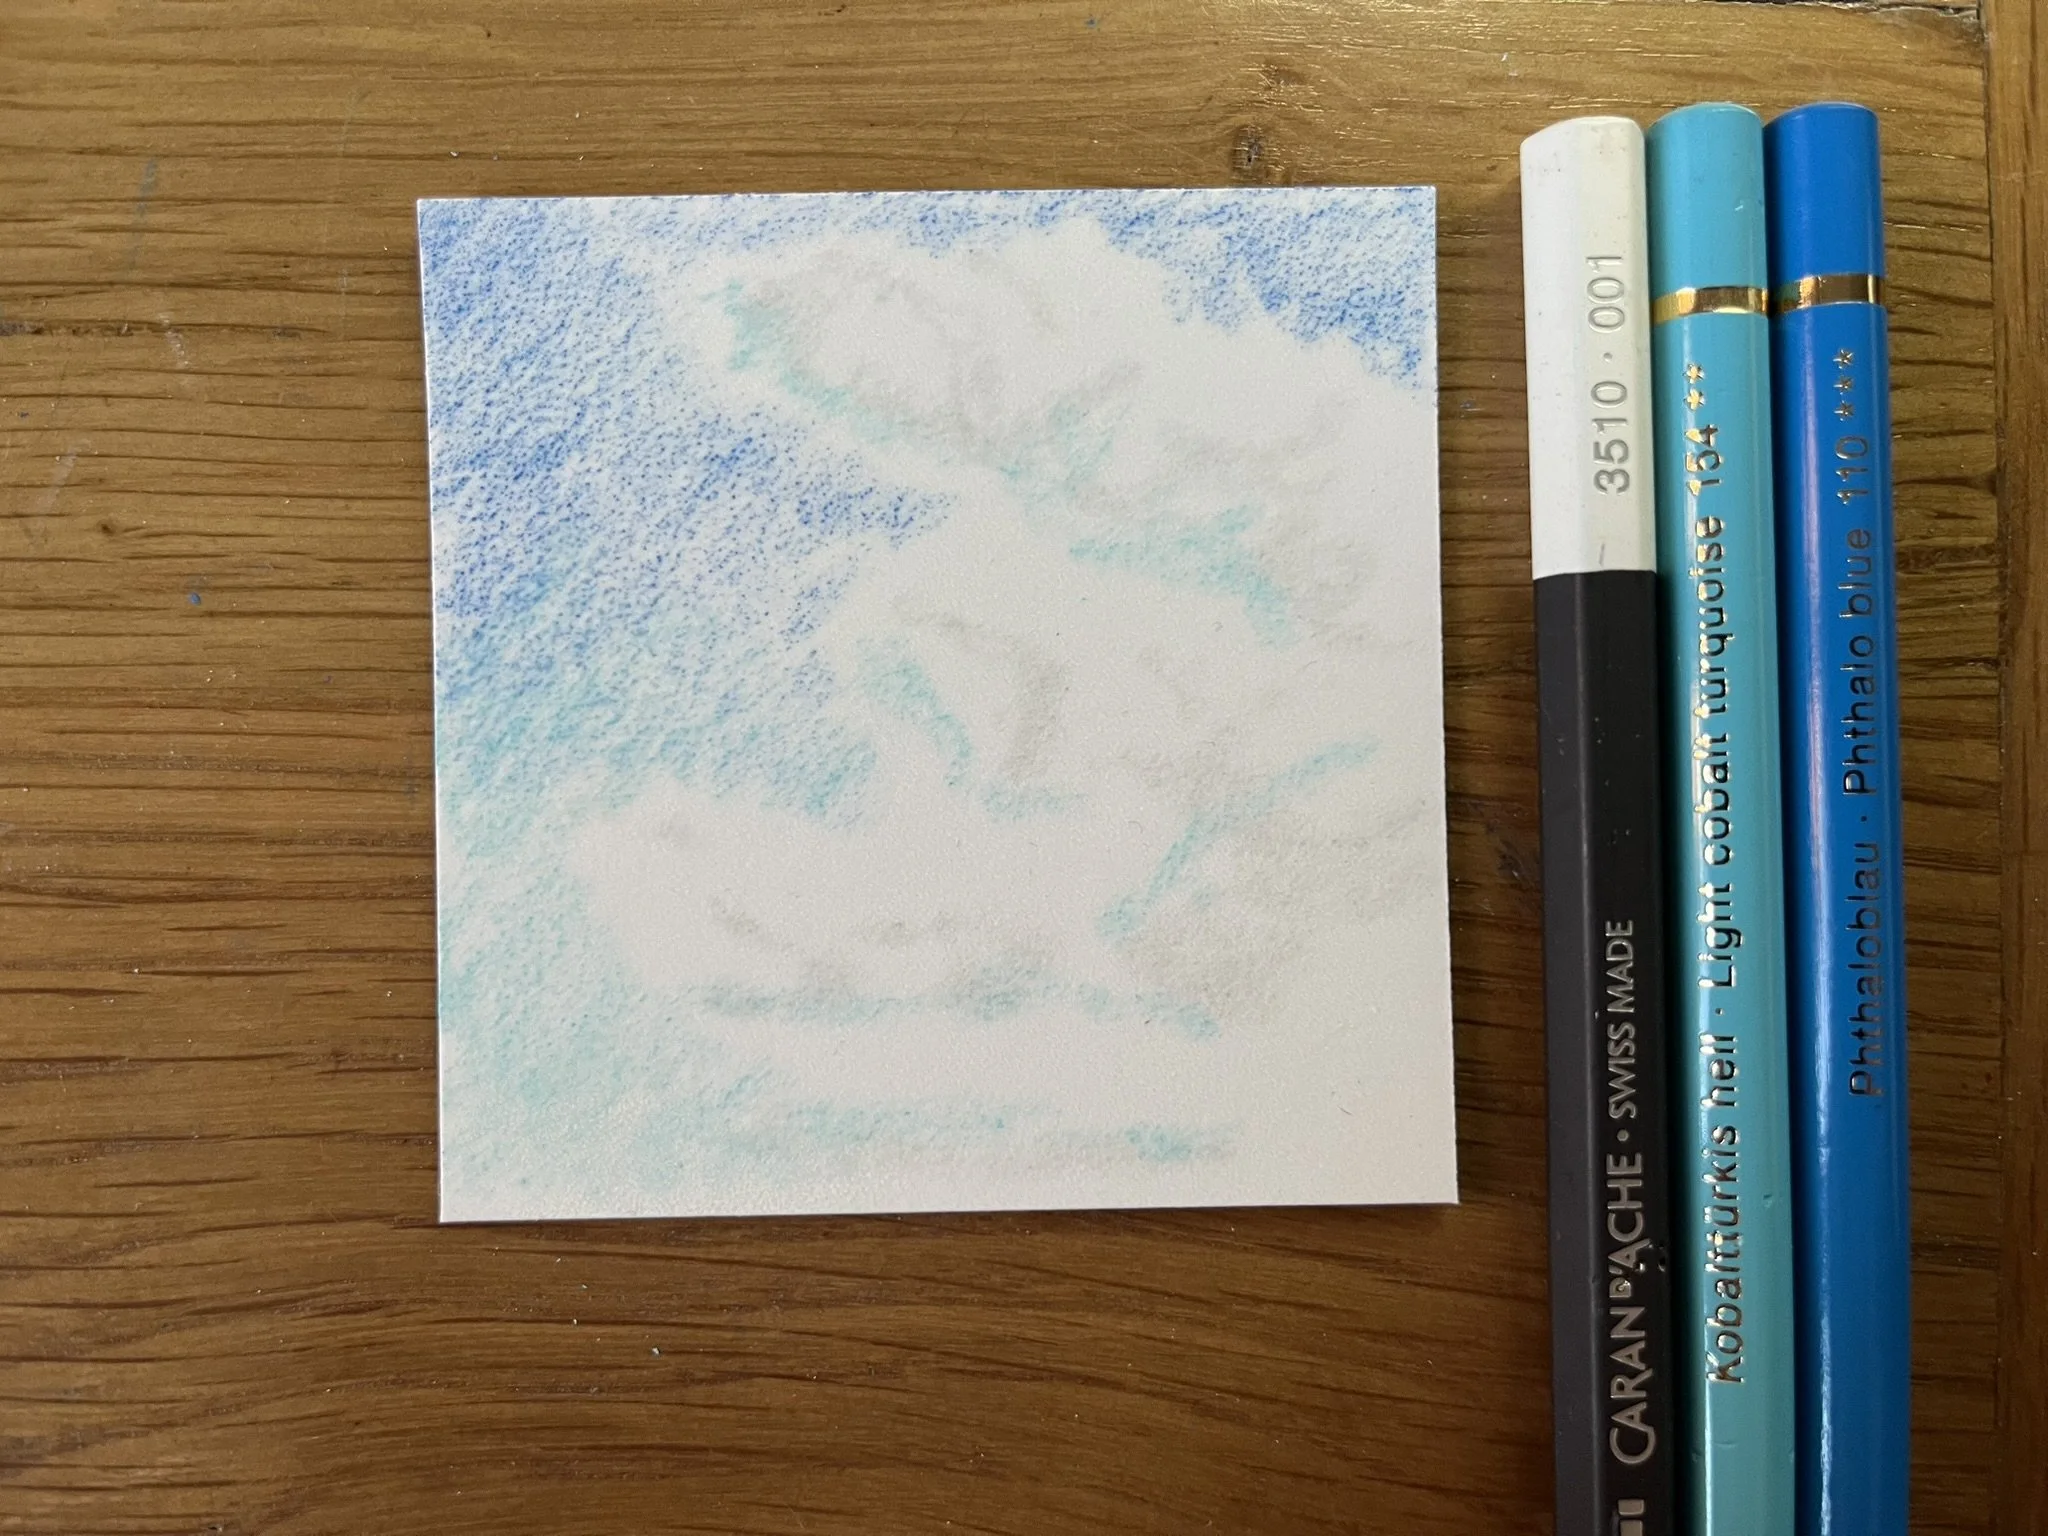
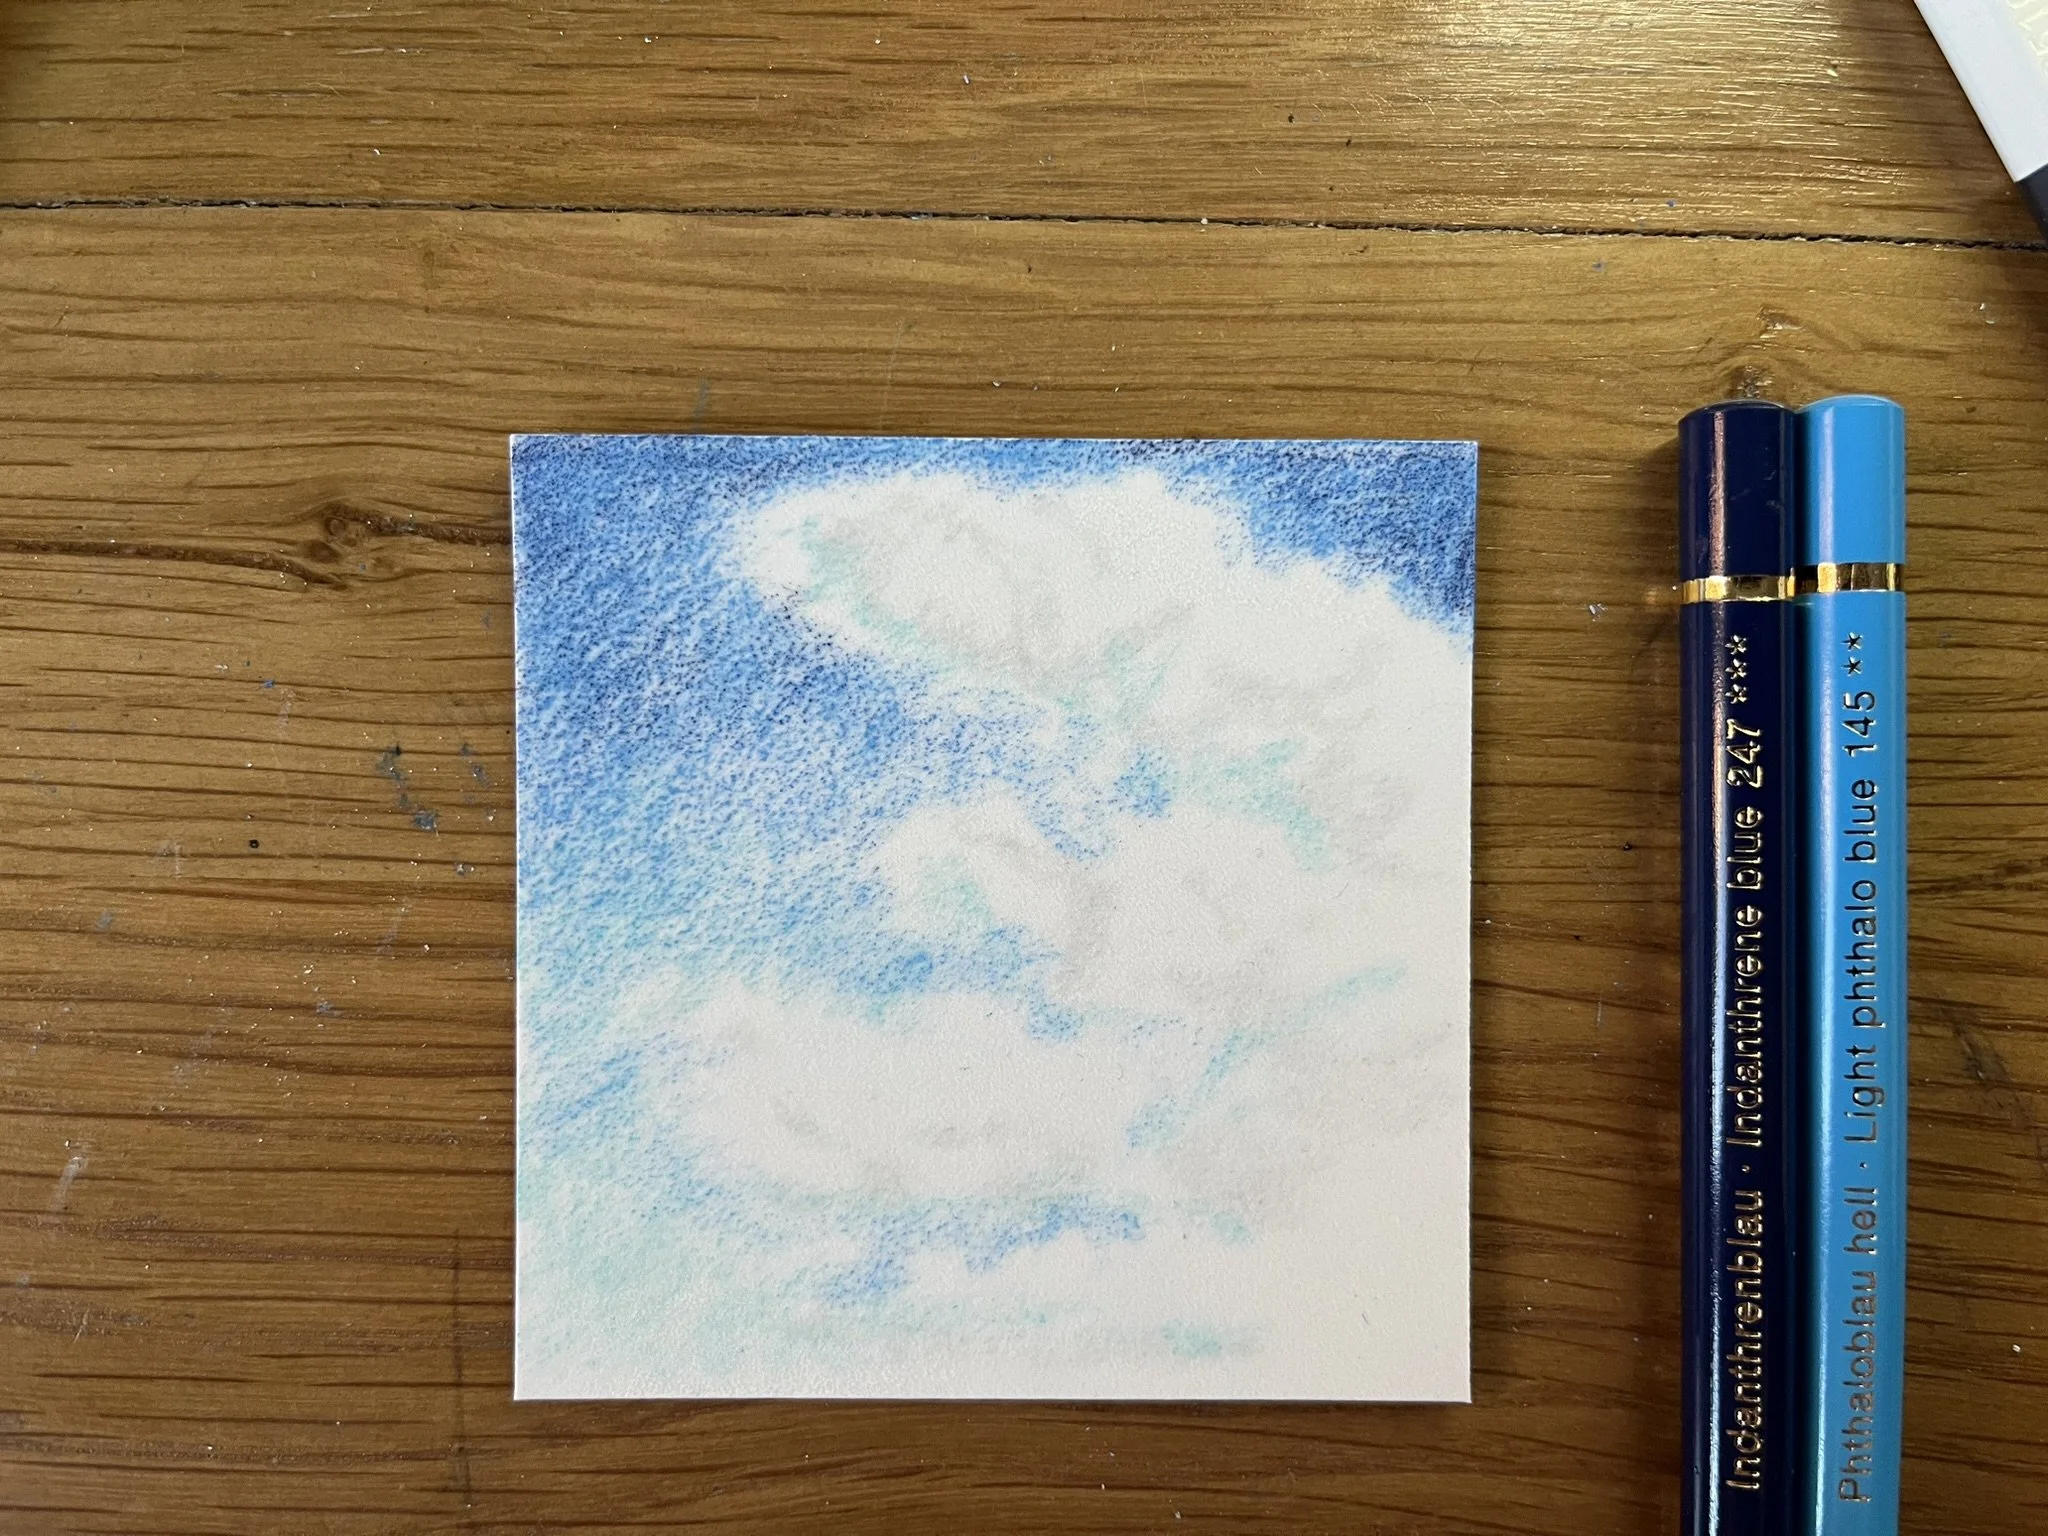
Back to my golden rule - draw the sky, not the cloud. This might feel strange at first, but trust me on this one. Start by laying down a gentle layer of blue pigment for your sky. Rather than drawing cloud shapes, focus on the spaces where sky meets cloud. Keep your strokes loose and sketchy - if you find yourself wanting to draw outlines, try tilting your pencil to a very oblique angle. This prevents precise lines and keeps things soft.
By all means, work with a reference photo, but don't try to copy it exactly. Remember, clouds are ever-changing - use your reference as inspiration rather than a rigid guide.
Drawing the Cloud
So you've now got a blue layer with holes in? Don't worry, with a few thoughtfully positioned blobs of grey your cloud will begin to emerge from the paper. Drawing everything but the cloud will get you most of the way there, but clouds aren't simply white spaces. Look closely at your reference - you'll see a variety of subtle colors. Clouds are made of water vapor and bounce light around inside them, creating surprising color variations:
Shadows often show cool greys or violets
Sunlit areas might have warm undertones
Base areas frequently reflect blues from the sky
Edges can catch unexpected colors from sunrise/sunset
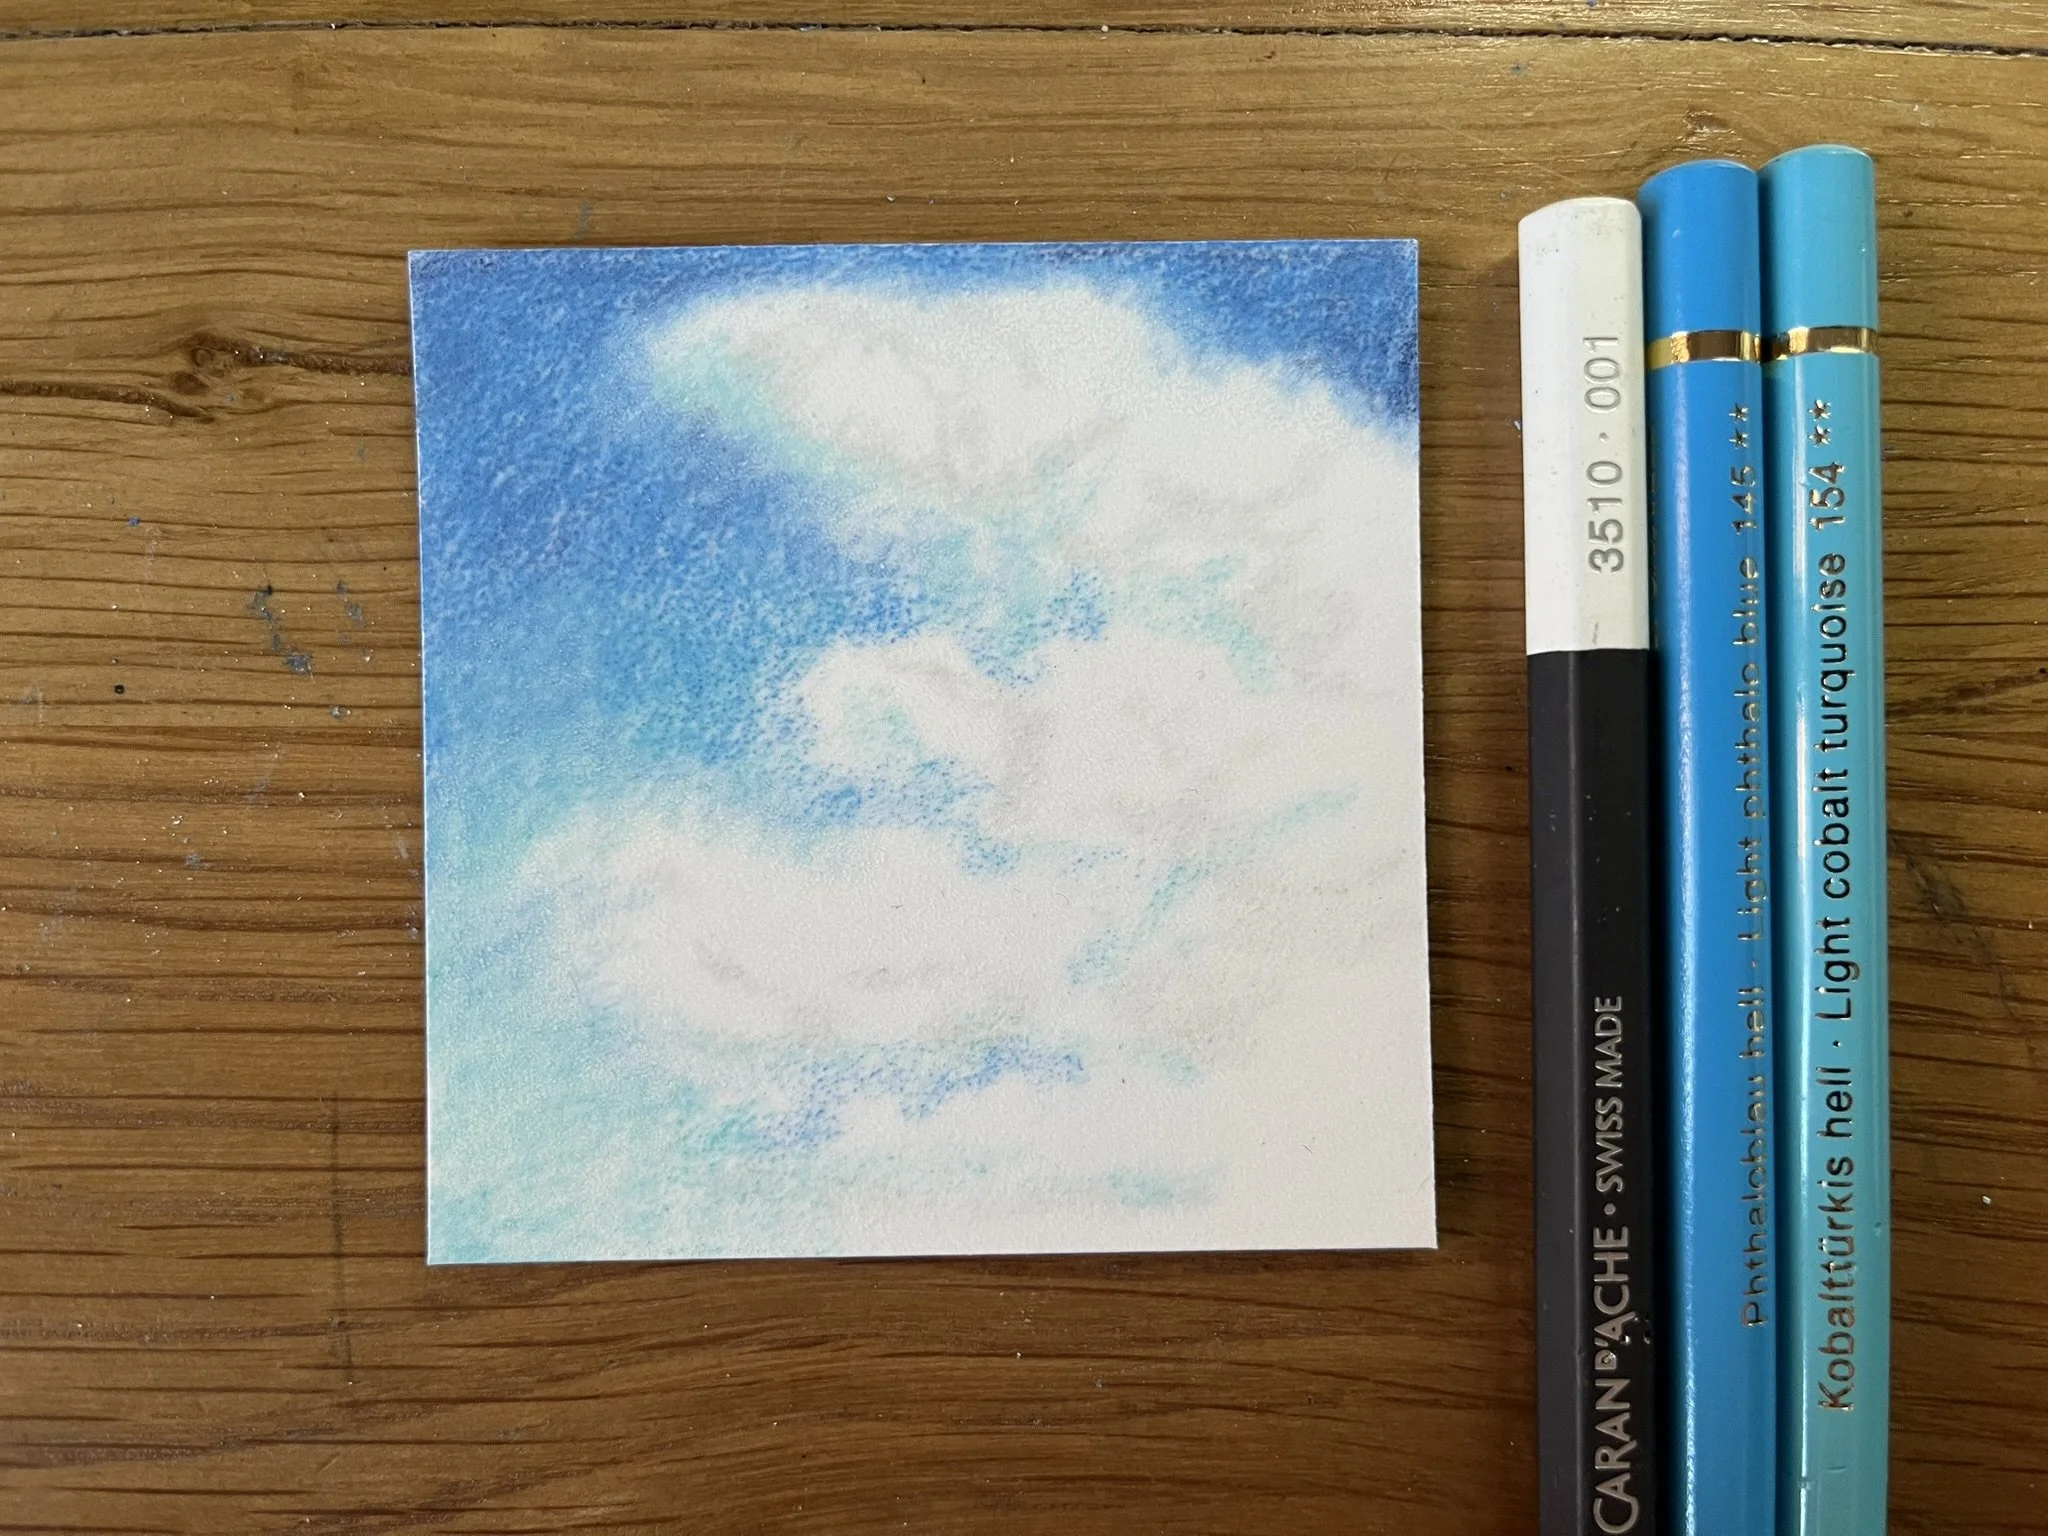
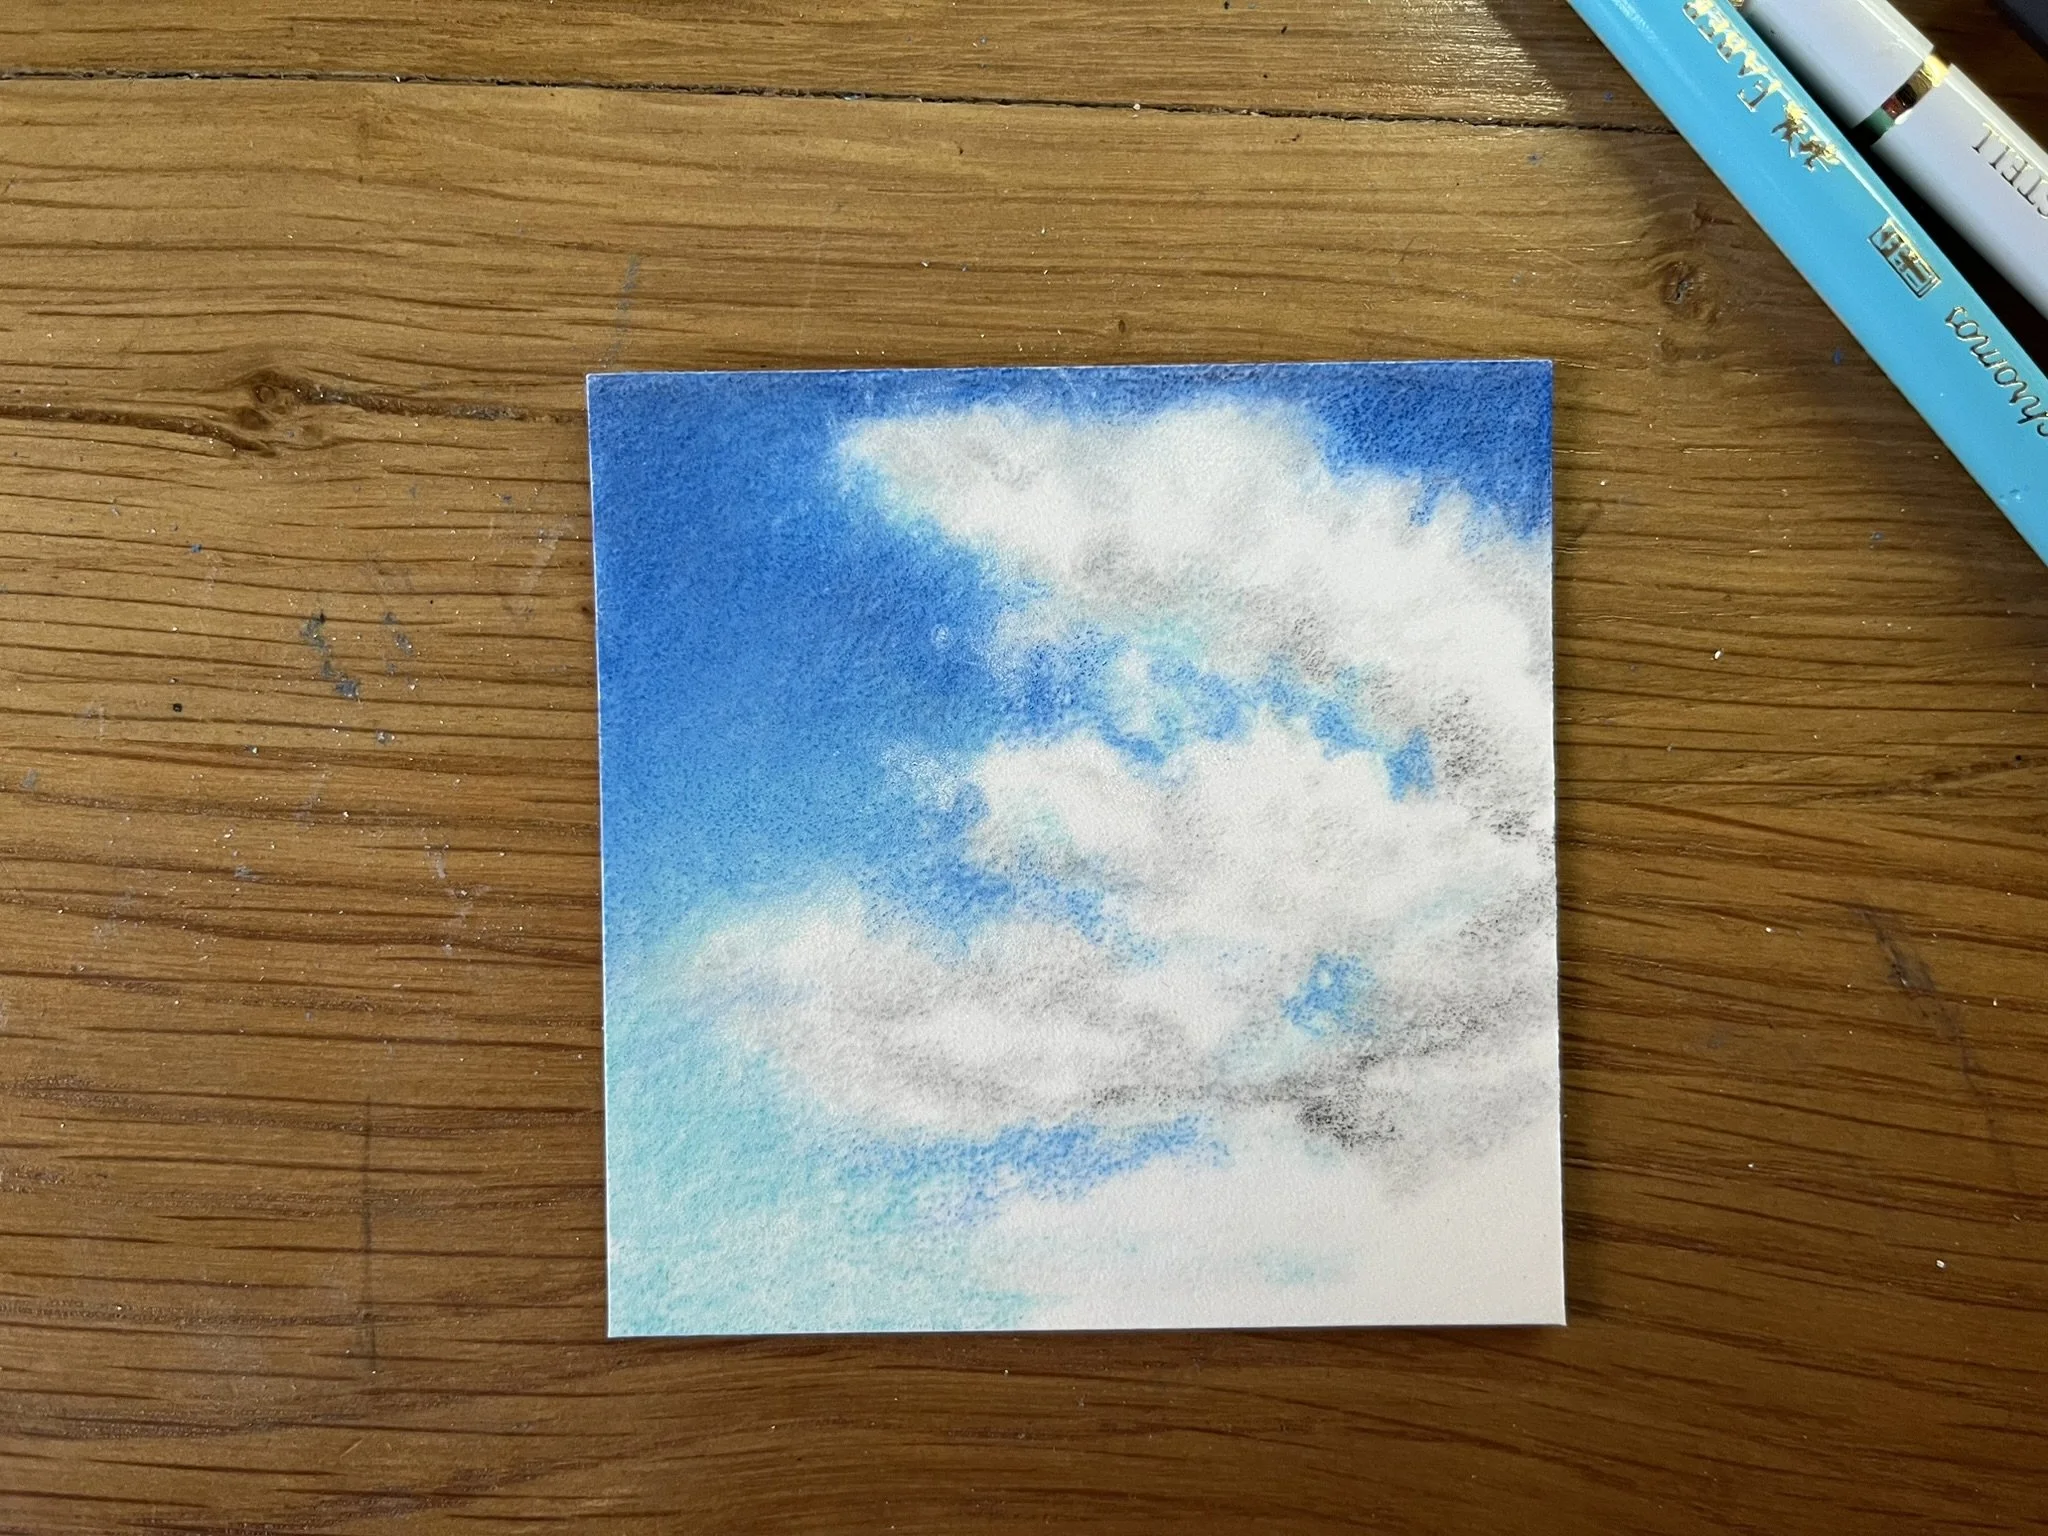
Start with your lightest greys, using a gentle circular motion to add texture. Work gradually from light to dark, focusing on the areas where you see shadows or depth. Add touches of blue or violet near the base where the cloud is denser. Remember to preserve your paper whites for the brightest areas - these highlights bring your cloud to life.
Tools and Techniques
Once you've got the basics down with your pencils, there are more tools you can bring into play. Their effectiveness will vary depending on your paper choice - here's what I've found works well:
For Smooth Papers (e.g. Hahnemühle Nostalgie):
Paper stump - perfect for creating soft transitions
Drag pigment inwards from the sky
Clean your stump with sandpaper if needed
Sometimes a 'dirty' stump gives beautiful effects!
For Textured Papers (e.g. Pastelmat, Bristol Vellum 500):
Kneadable eraser - great for lifting and shaping
Use gentle dabbing motions
Perfect for creating highlights and texture
Pencil Choices:
Dark blue, mid-blue and light blue
White (for blending)
Cold grey and warm grey
Violet
Optional: ivory to orange for warm touches (keep pressure light!)
Over time, you'll develop your own rhythm - drawing, erasing, blending with the stump, drawing again. It becomes a kind of dance between these elements. I find myself rotating through the application of pigment, softening with a stump and shaping with an eraser. The effectiveness of each tool will vary based on your paper, but that's part of the fun of discovering what works best for you.
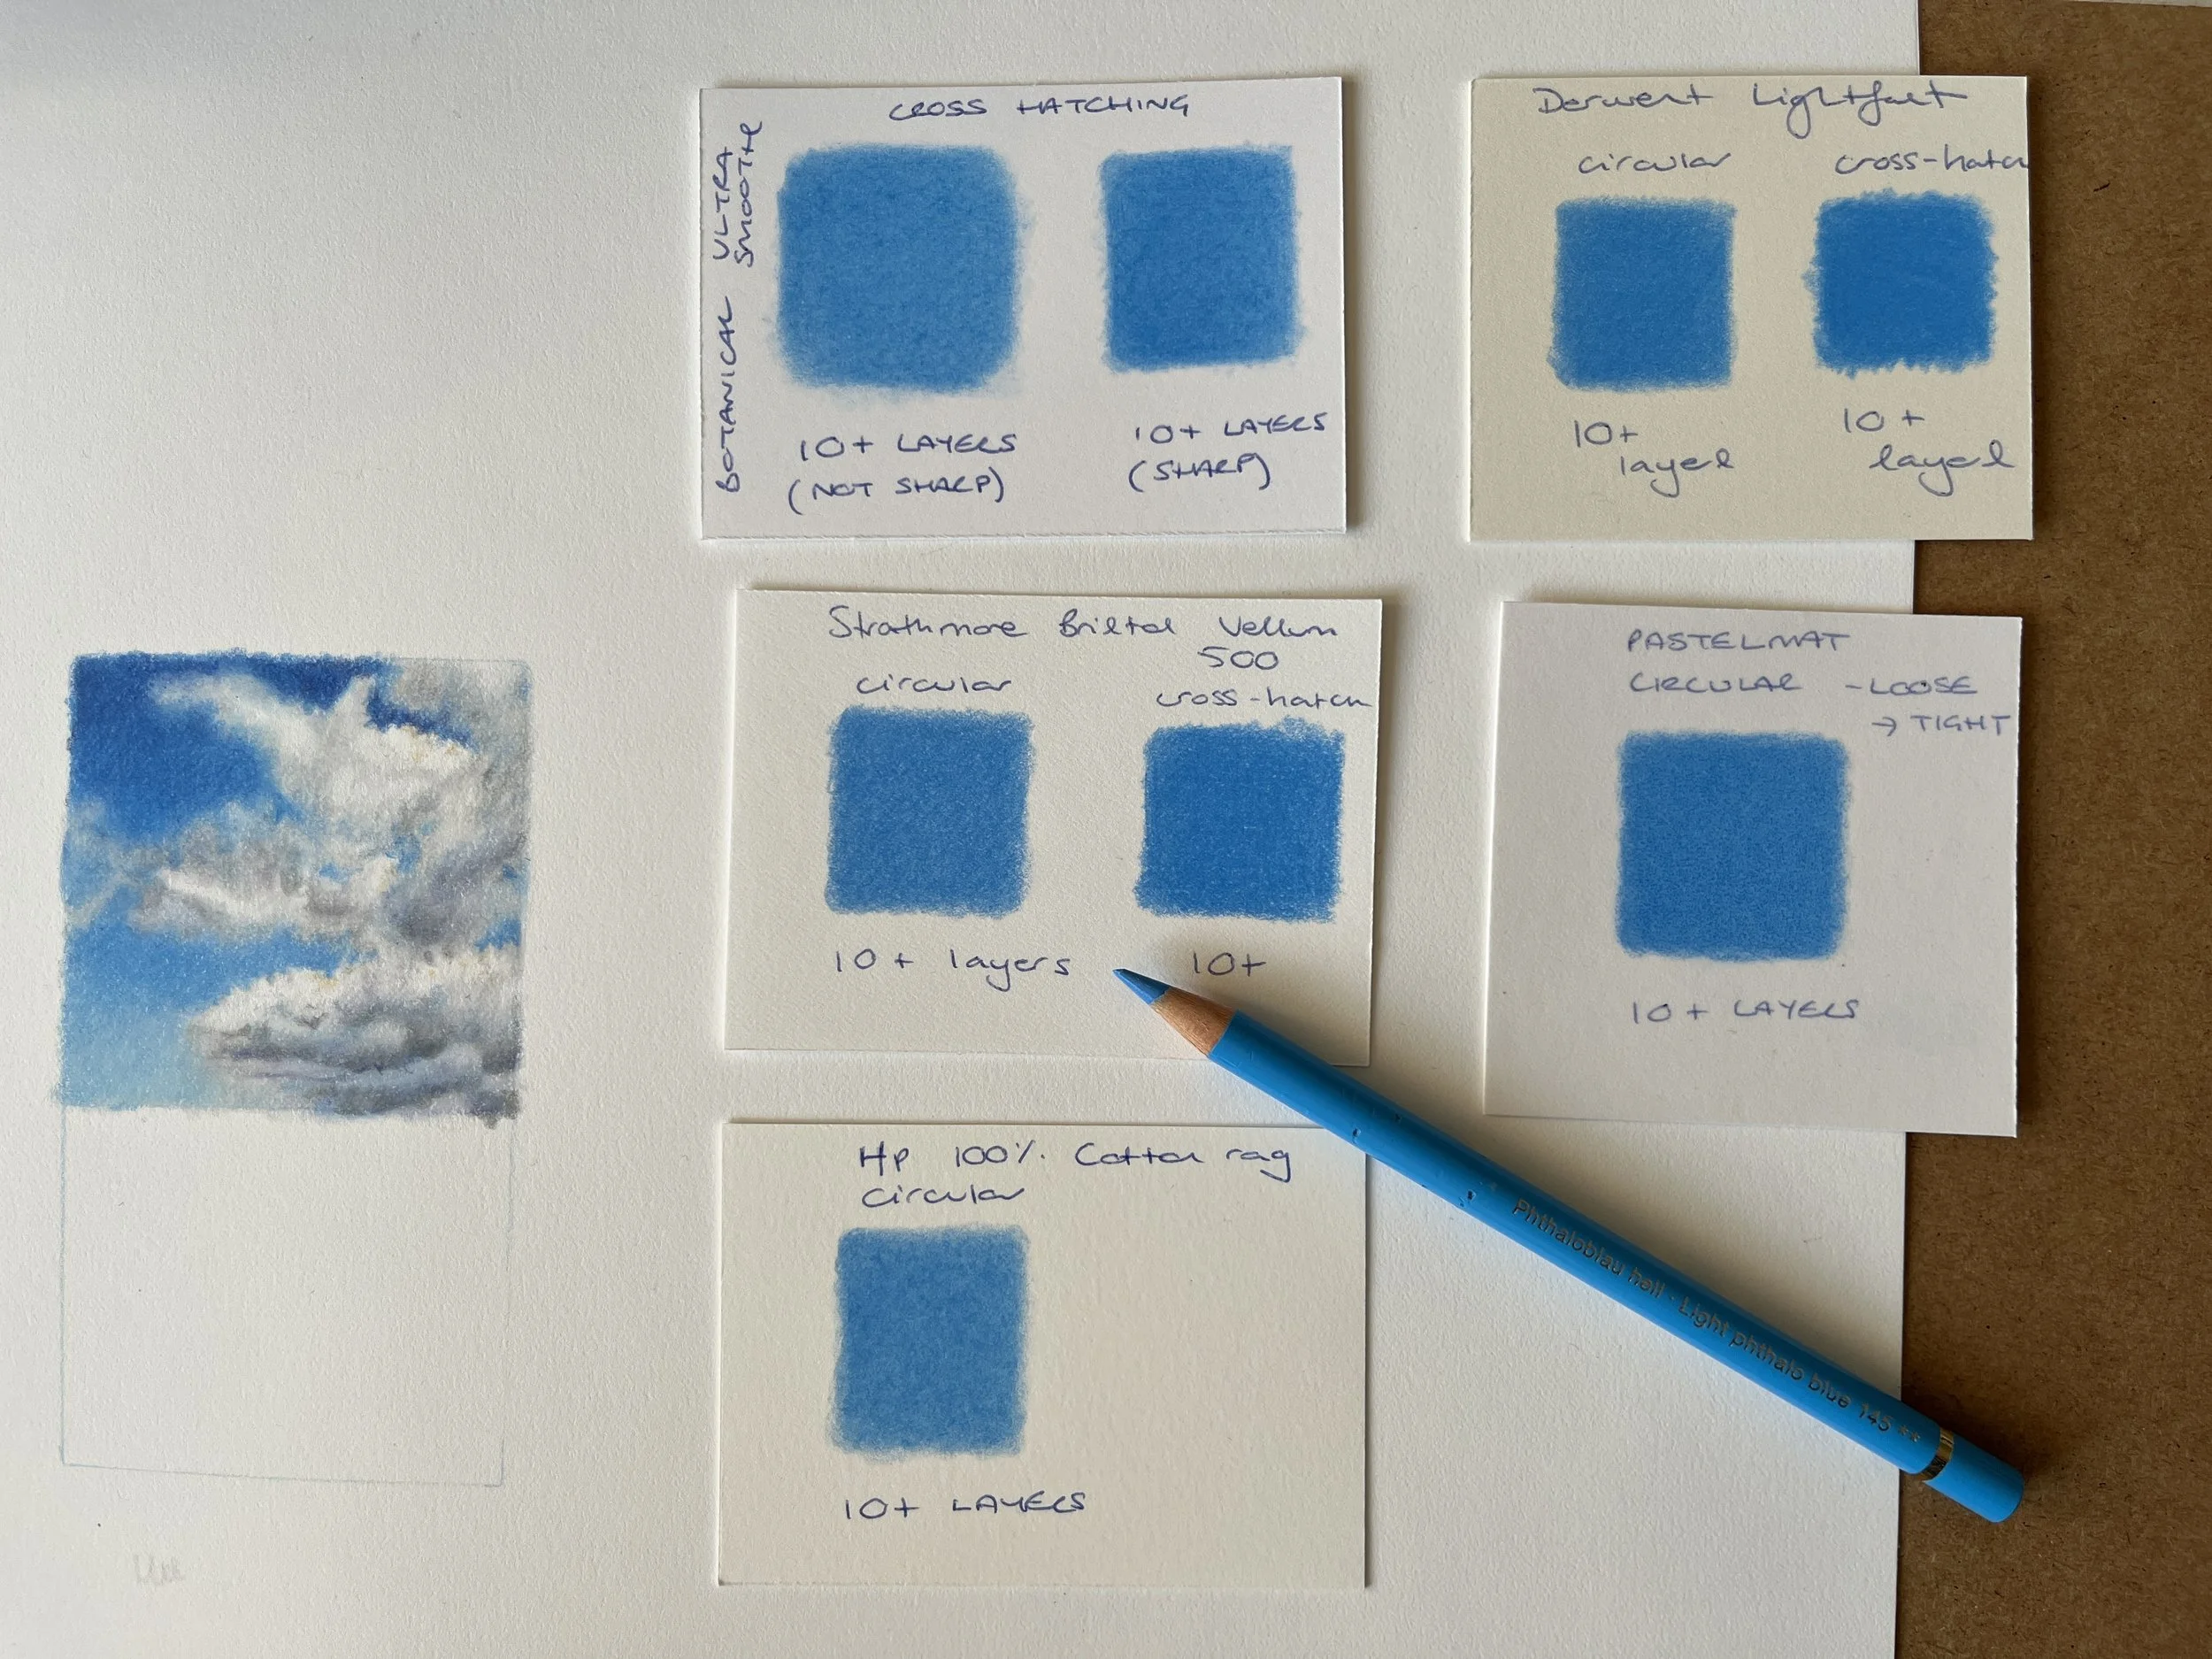
Don’t worry about your paper - use what you have.
With gentle pressure, and patience, you can achieve a similar effect on lots of different surfaces. Here, I’ve used a Light Phthalo Blue (Polychromos).
Troubleshooting Corner
Streaky Sky?
Layer your blues more gradually
Keep your pressure super light
Try rotating your pencil as you work
Heavy-Looking Clouds?
Start lighter than you think you need
Build up gradually
Remember to preserve those paper whites
Dirty Sky?
Clean your paper stump regularly
Work from light to dark
Take breaks to sharpen your pencils
Not Sure When It's Done?
Step back regularly
Take a photo on your phone
Trust your instincts - sometimes less is more
Ready to Draw? Start small, focus on one simple cloud, and take your time. The real learning happens in the doing. Want more guidance? I've created a detailed step-by-step tutorial that breaks down every stage of the process. Pop me an email and I’ll send that across.

